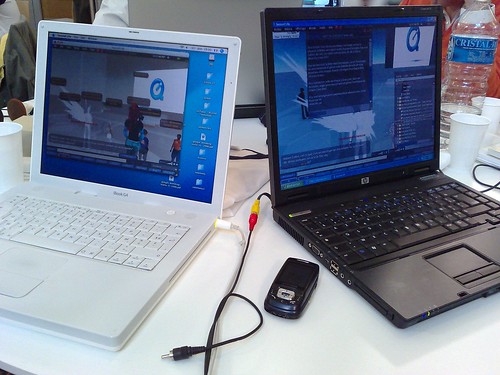
Sharing files between computers is fairly simple. That is, it’s simple when all of the computers within that network use the same OS. Macs and PCs don’t have a good history when it comes to working together; they’re the computing equivalent of the most dysfunctional married couple someone could imagine. There are ways to make them reconcile and communicate properly, but it requires a little tech savvy and patience.
Out of the Box
Macs and PCs don’t usually have a problem detecting each other on a home network. In fact, it’s pretty easy for Windows computers to share files with a machine that’s running a Mac OS. If the Windows PC has a shared file set up, getting the desired files is usually as simple as clicking and dragging. Sharing files on a Mac with a PC is a different ballgame altogether, but both processes need to be understood in order to make everything work properly.
Setting up a Shared File in Windows
First, file sharing has to be turned on. In Windows Vista and Windows 7, the easiest way to reach the proper menu is to type “network and sharing center” into the start menu’s search bar. From there, the process is a bit different depending on which iteration of Windows someone is using.
In Windows Vista, there’s a menu that displays which network options are active and which ones aren’t. The user needs to click the arrow next to “file sharing” within that menu and click the appropriate box before any files can be shared across the network. Once that’s done, the user can either create a new folder to store shared items, or he can add existing folders to the file sharing roster. This is as simple as using the right-click menu’s “share” option and designating privileges according to the user’s preferences.
In Windows 7, the user has to scroll down to “choose home group and sharing options” and designate libraries that are meant to be shared. Once the right boxes are clicked, it’s a simple matter of right-clicking the files that the user wants to share and choosing, “share with home group.” The user also has the freedom to determine whether other computers on the network can alter or delete files on another computer or if they have read access only.
Macintosh
Just like in Windows, file sharing has to be turned on before it will work. In order to do that, the user needs to go to “sharing” within the “system preferences” menu. Once the box is checked, the public folder will be available to every computer on the network. Sharing more files and folders is a simple matter of clicking the plus icon under the “shared folders” button.
Once that’s done, the Mac computer needs to be added to a Microsoft workgroup. This has to be done within the “system preferences” menu. The user needs to click “network” and then “advanced” under the current network connection. That causes a window to pop up with various tabs at the top. The user needs to click “WINS” and enter the proper workgroup information. Microsoft has two workgroup protocols: MSHOME and WORKGROUP. Once the user figures out what the PCs on his network use, he needs to enter that information into the box.
Almost Done
If every prior step was completed successfully, all of the Mac’s files should be available within “my network places.” If that isn’t the case, the user has to double check the settings to make sure that each Mac and PC on the network is using the same protocols and has file sharing enabled. Once that’s done, everything should work according to the permissions that were set.
File sharing is a lot simpler than it seems at first. Modern operating systems have greatly streamlined the process. It’s possible to have a completely functional file sharing system set up within a home network in less than an hour. Once the process is laid out, it’s a very simple task. Some users may find it easier to use a cloud based storage system available through numerous services.
[Michael Bryant is a tech blogger.]


